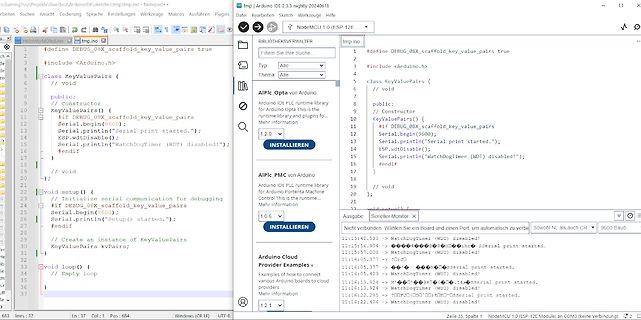
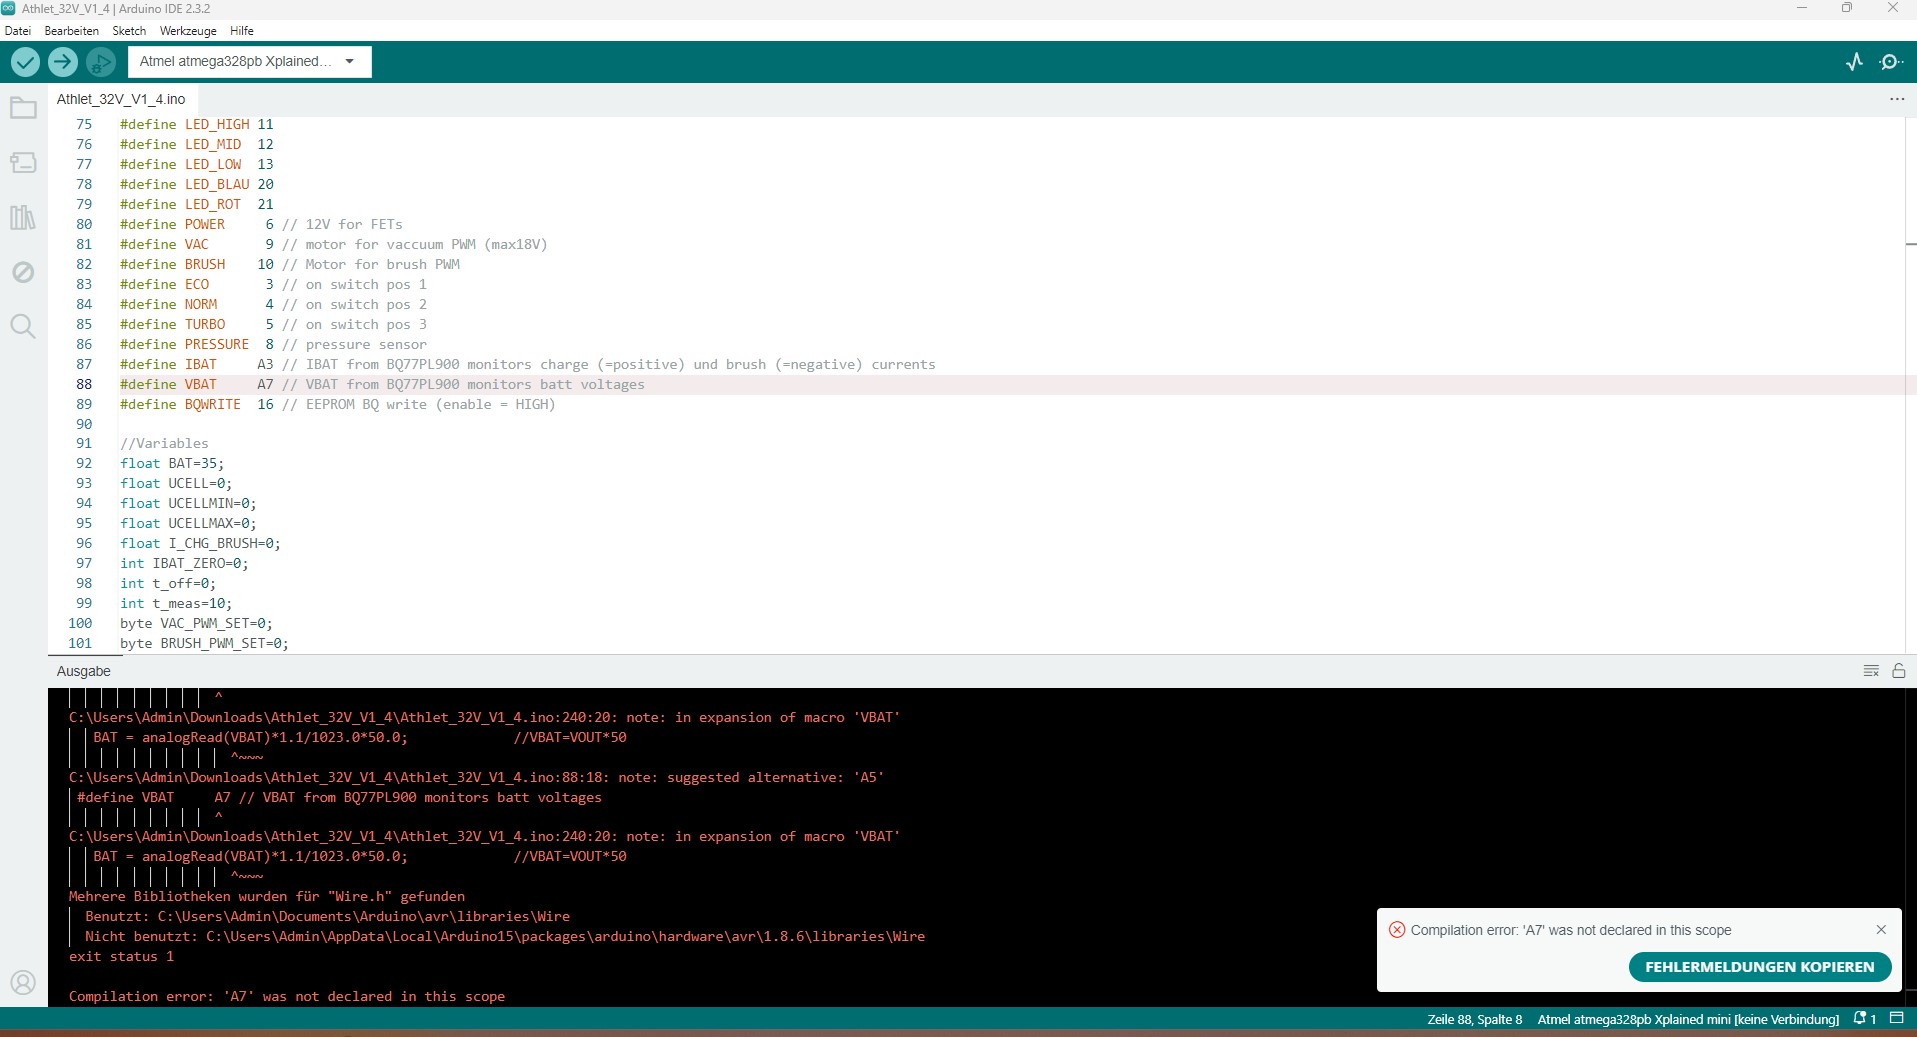
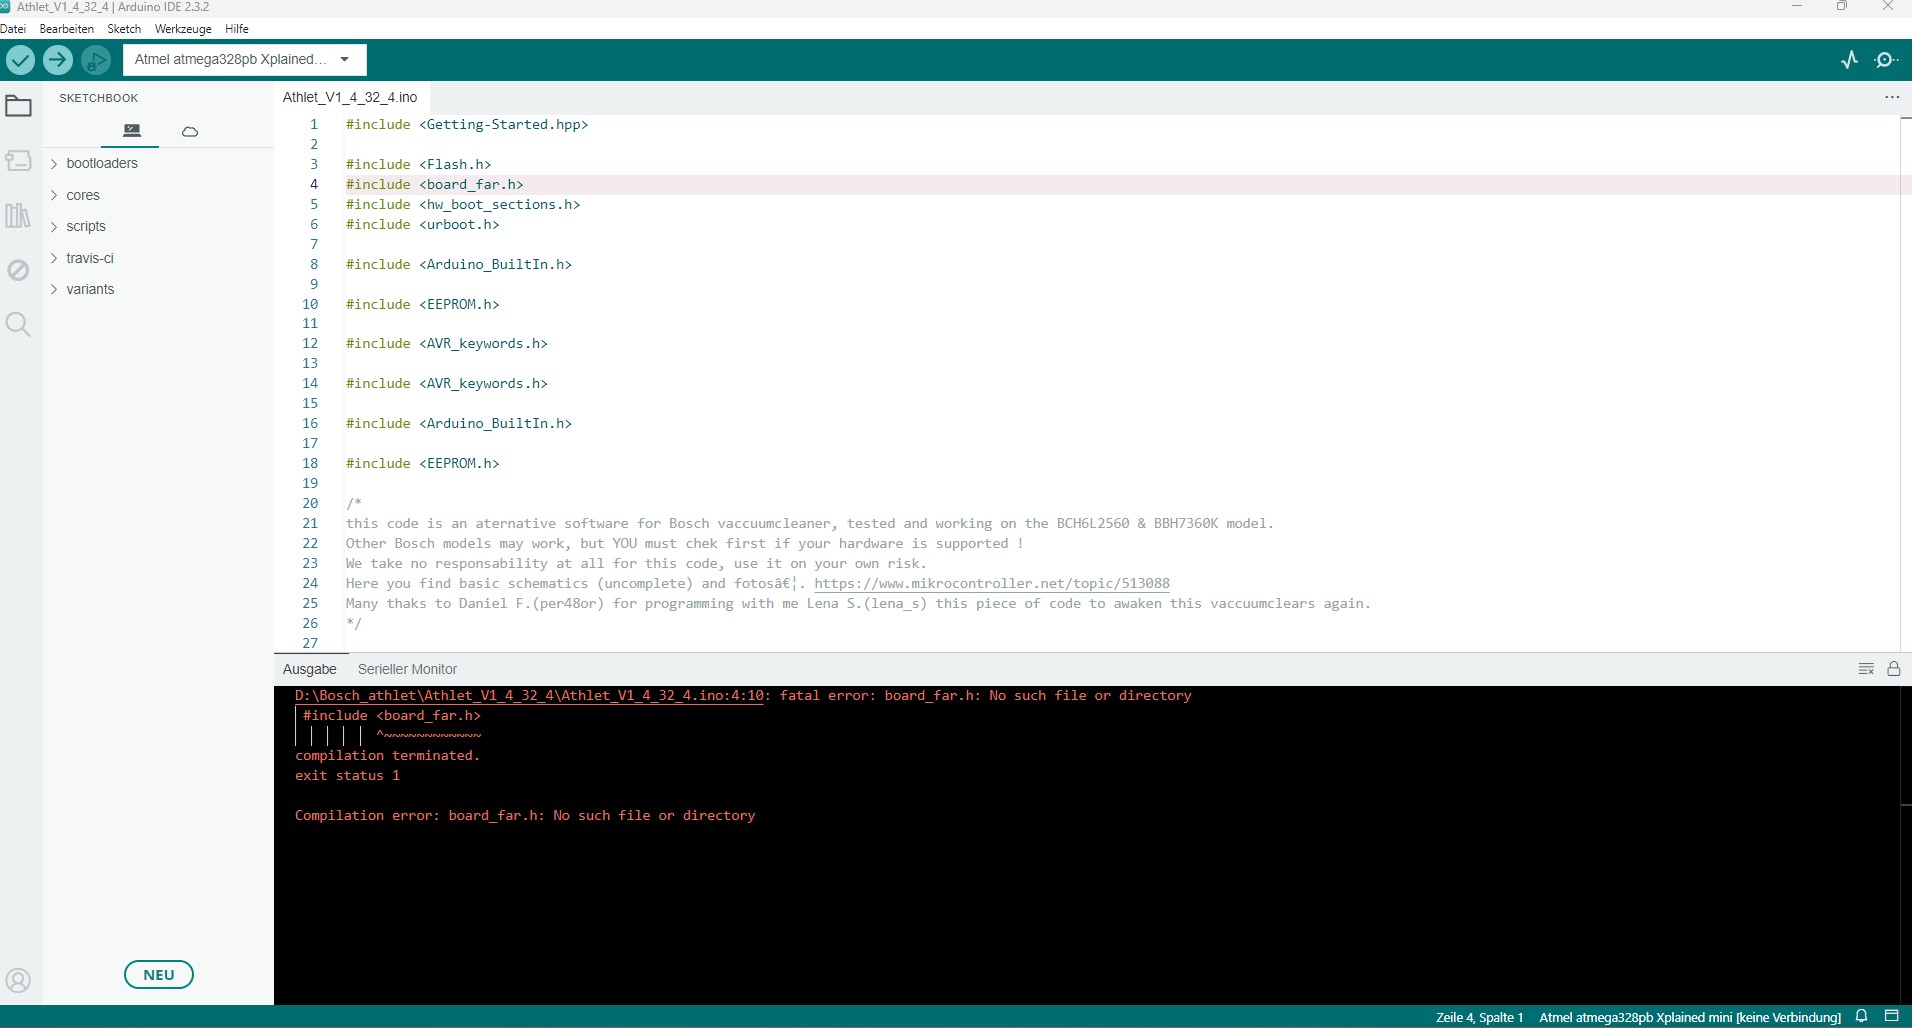
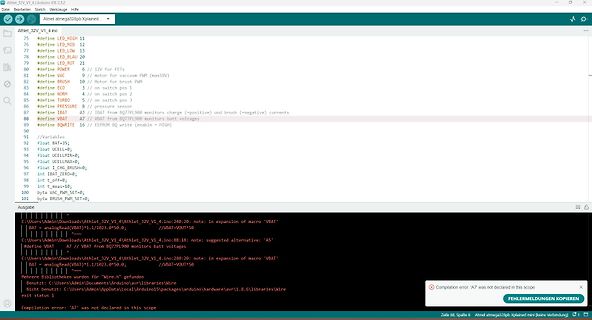
Forenmitglieder, als Anfänger suche ich eine Lösung für mein Problem. Habe auf dem Arduino Mega 2560 eine ino-Datei geladen und zu prüfen begonnen. Bekomme immer die Fehlermeldung:Compilation error: exit status 1 Kann mir jemand helfen? Wäre sehr dankbar dafür
stm32duino/STM32Examples/blob/main/examples/Peripherals/HardwareTimer/Timebase_callback/Timebase_callback.ino Und hier die gesamte Timer API: https://github.com/stm32duino/Arduino_Core_STM32/wiki/HardwareTimer-library
stm32duino/STM32Examples/blob/main/examples/Peripherals/HardwareTimer/Timebase_callback/Timebase_callback.ino Deshalb gilt folgendes: Um die passende Umgebung für den TO zu finden, muss man seine genauen Randbedingungen kennen.
#include <IRremote.h> const int irLedPin = 3; // Pin für die IR-LED const int irSensorPin = 7; // Pin für den IR-Sensor (TSOP4838) IRsend irsend(irLedPin); // Erstelle ein IRsend-Objekt void setup() { Serial.begin(9600); // Serielle Kommunikation initialisieren pinMode(irSensorPin, INPUT); // Setze den Pin für den IR-Sensor als Eingang } void loop() { // Sende ein 38 kHz IR-Signal irsend.sendNEC(0xFF00FF, 32); // Beispiel: Sende NEC IR-Signal (ersetzbar durch dein Signal) // Überprüfen, ob der IR-Sensor das modulierte Signal empfängt if (digitalRead(irSensorPin) == LOW) { // Der TSOP4838 gibt
// Pin für die IR-LED definieren const int irSensorPin = 7; // Pin für den IR-Sensor (TSOP4838) void setup() { Serial.begin(9600); // Serielle Kommunikation initialisieren pinMode(irSensorPin, INPUT); // Setze den Pin für den IR-Sensor als Eingang enableIRModulation(); // Starte die 38-kHz-Modulation } void loop() { // Überprüfen, ob der IR-Sensor das modulierte Signal empfängt if (digitalRead(irSensorPin) == LOW) { // Der TSOP4838 gibt LOW aus, wenn er ein gültiges Signal empfängt Serial.println("IR-Signal empfangen!"); } else { Serial.println("Kein IR-Signal."); } delay(500); // Warte 500 ms,
// Pin für die IR-LED definieren const int irLedPin = 3; // Pin 3 unterstützt PWM-Ausgabe (wichtig für Timer) const int irSensorPin = 7; // Pin für den IR-Sensor (TSOP4838) void setup() { pinMode(irLedPin, OUTPUT); // Setze den Pin für die IR-LED als Ausgang pinMode(irSensorPin, INPUT); // Setze den Pin für den IR-Sensor als Eingang Serial.begin(9600); // Initialisiere die serielle Kommunikation enableIRModulation(); // Starte die 38-kHz-Modulation } void loop() { // Schalte die LED für 1 Sekunde ein digitalWrite(irLedPin, HIGH); delay(1000); // Überprüfen, ob der IR-Sensor das modulierte Signal
const int pwmPin = PB1; // Der Pin, der per PWM gesteuert wird const int duration = 3000; // Dauer für das Hoch- und Runterfahren in Millisekunden const int steps = 255; // Anzahl der Schritte für die PWM (0-255 für 8-Bit PWM) void setup() { pinMode(pwmPin, OUTPUT); // Setzt den Pin als Ausgang } void loop() { // Hochfahren des Pins for (int value = 0; value <= steps; value++) { analogWrite(pwmPin, value); // PWM-Wert auf den Pin schreiben delay(duration / (2 * steps)); // Berechnet die Verzögerung für 3 Sekunden Gesamtzeit } // Runterfahren des Pins for (int value = steps; value >= 0; value--)
öffnet man einfach entweder einzelne Dateien oder Projektverzeichnisse. Ein Verzeichnis mit einer *.ino Datei wird z.B automagisch als Arduino Projekt erkannt. Sobald du Projekt-spezifische Settings änderst, legt die IDE das Unterverzeichnis .vscode an und speichert es dort im JSON Format. Man kann
/* Multimeter PDM-300-C2 Simulator What: Arduino-Programm zur Simulation des Multimeters und Übertragung der seriellen Messwerte. Why: Wenn man kein PDM-300-C2 Multimeter hat, kann man statt dessen einen Arduino benutzen, um die PC-Empfängerprogramme zu testen. How: Es wird eine analoger Eingang bemessen und die Daten zum PC übertragen. Das Datenpaket besteht aus 10 Bytes. Die Spannung des Analogeingangs mit einer einmalig gemessenen Referenzspannung berechnet. TBD: use internal Reference 2024-09-20 mchris License: Free Wine License Diskussion: https://www.mikrocontroller.net/topic/571179 https://www.mikrocontroller.net
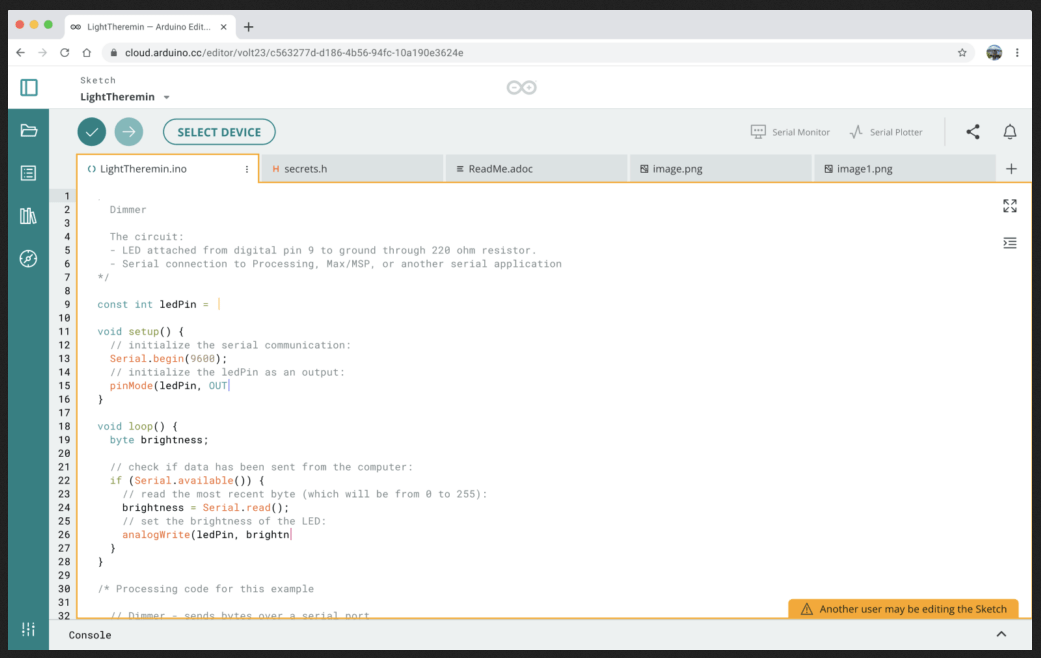
c563277d-d186-4b56-94fc-10a190e3624e
LightTheremin
SELECT DEVICE
Serial Monitor
Serial Plotter
LightTheremin.ino
secrets.h
ReadMe.adoc
image.png
image1.png
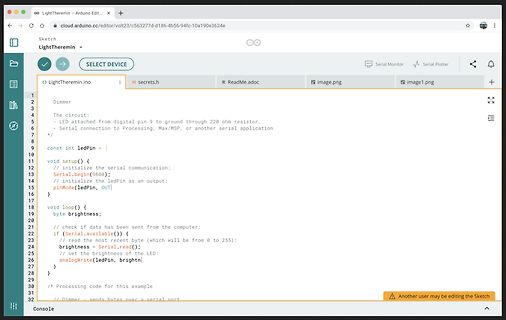
Dimmer
The circuit:
- LED attached from digital pin 9 to ground through 220 ohm resistor.
- Serial connection to Processing, Max/MSP, or another serial application
/* Code auf Basis von Harald Peters: https://www.mikrocontroller.net/topic/134862#postform Mit folgenden Modifikationen: https://www.mikrocontroller.net/topic/134862#3991115 Wenn der 328 doppelt so schnell läuft, dann verdoppeln sich auch die Zählerwerte. Für die Dekodierung von DL braucht man hier nur den Timer0. Also bei 16MHz gilt: if (TCNT0>160 || TIFR0 ) // 2048us dann 2x OCR0A = 95; // 1536us und dann OCR0A = 127; // 2048us, für Bits1..8 wirksam Die Werte habe ich hier korrigiert, da ich ursprünglich vergessen hatte, daß die resultierende Frequenz bei CTC (f/OCR0A+1) ist. Aber so kritisch
// Production 17 Function DCC Decoder Dec_17LED_1Ftn.ino // Version 6.01 Geoff Bunza 2014,2015,2016,2017,2018 // Now works with both short and long DCC Addesses // // ******** UNLESS YOU WANT ALL CV'S RESET UPON EVERY POWER UP // ******** AFTER THE INITIAL
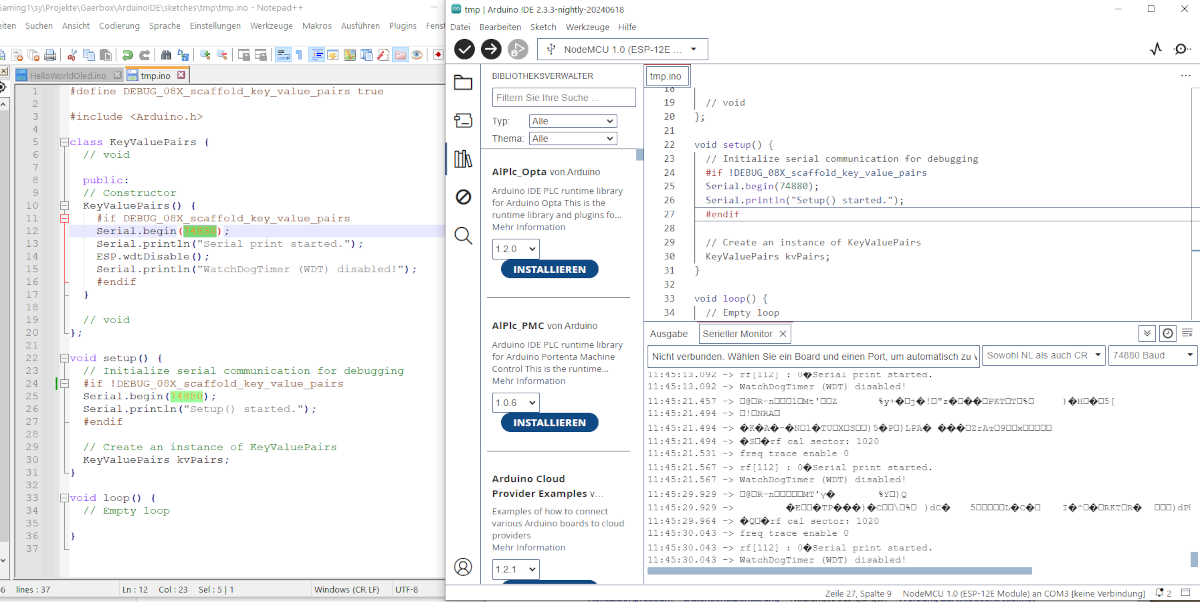
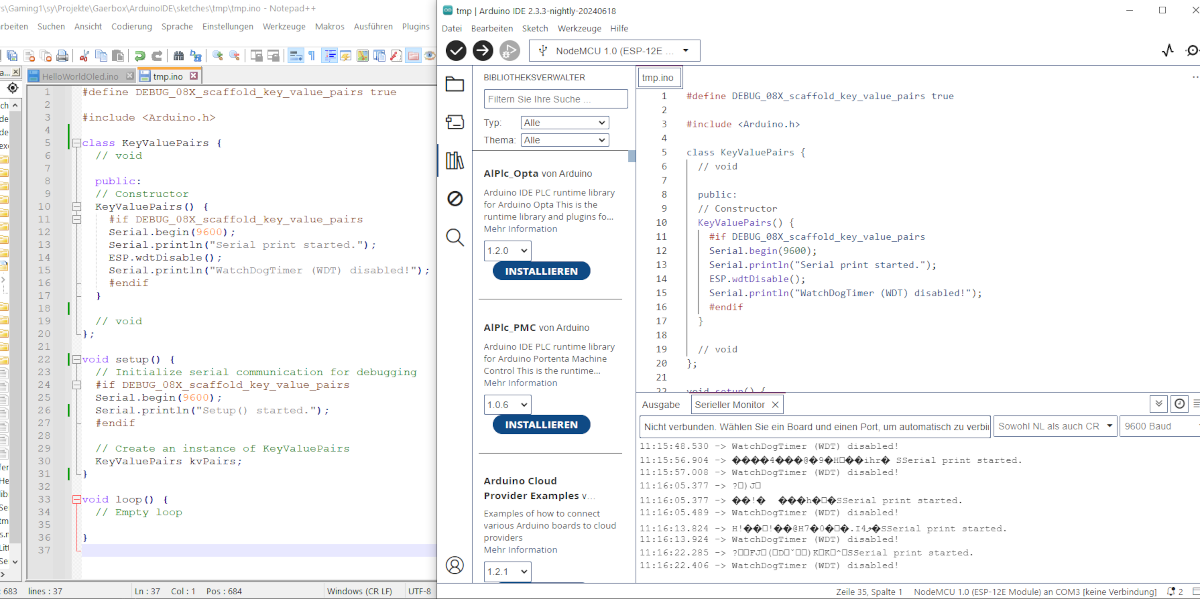
#include <Arduino.h> #include <Vector.h> Vector<String> words; void waitForKeyboardReturnKey() { Serial.println("Press any key to continue..."); // Wait until at least one character is available in the buffer while (Serial.available() == 0) { // Do nothing, just wait for input } // Read all available characters in the buffer while (Serial.available() > 0) { Serial.read(); // Clear out the buffer to avoid unintended behavior delay(10); // Small delay to ensure all characters are read } Serial.println("Key pressed, continuing..."); } void setup() { Serial.begin(74880); while (!Serial) { // loop only
#include <Arduino.h> std::vector<String> words; void waitForKeyboardReturnKey() { Serial.println("Press any key to continue..."); // Wait until at least one character is available in the buffer while (Serial.available() == 0) { // Do nothing, just wait for input } // Read all available characters in the buffer while (Serial.available() > 0) { Serial.read(); // Clear out the buffer to avoid unintended behavior delay(10); // Small delay to ensure all characters are read } Serial.println("Key pressed, continuing..."); } void setup() { Serial.begin(74880); while (!Serial) { // loop only } } void loop
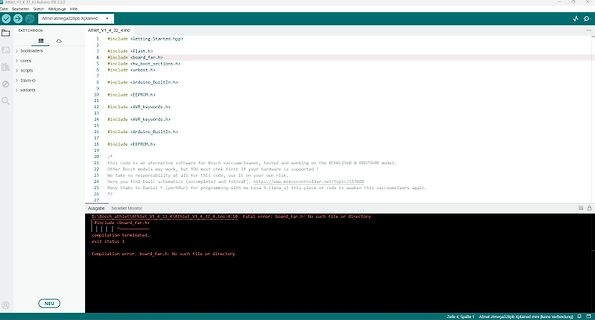
Atmel_V1_4_32_4.ino
#include <Flash.h>
#include <board_far.h>
#include <nv_boot.h>
#include <Arduino_Builtin.h>
#include <EEPROM.h>
// This code is an alternative software for Bosch vacuumcleaner...
Ausgabe
Seneler Monitor
D:\Bosch_atlet\Atmel_V1_4_32_4.ino:4:10: fatal error: board_far.h: No such file or directory
#include <board_far.h>
|||
compilation terminated.
exit status 1
Compilation error: board_far.h: No such file or directory
//github.com/espressif/arduino-esp32/blob/master/libraries/Ticker/examples/TickerBasic/TickerBasic.ino oder ähnlich. Muss mal sehen ob das passt. Gruß Rainer
I2C device found at address 0x3C ! 20:48:16.693 -> done Ich hab dann den "ssd1306_128x32_i2c.ino" Scetch aus der Adafruit_SSD1306 lib laufen lassen. Das Programm fängt an zu meckern, wenn es kein Display findet. Das Programm hat nicht gemeckert, aber es gibt auch keine Pixel. Das Display bleibt
#include <Flash.h> #include <board_far.h> #include <hw_boot_sections.h> #include <urboot.h> #include <Arduino_BuiltIn.h> #include <EEPROM.h> #include <AVR_keywords.h> #include <AVR_keywords.h> #include <Arduino_BuiltIn.h> #include <EEPROM.h> /* this code is an aternative software for Bosch vaccuumcleaner, tested and working on the BCH6L2560 & BBH7360K model. Other Bosch models may work, but YOU must chek first if your hardware is supported ! We take no responsability at all for this code, use it on your own risk. Here you find basic schematics (uncomplete) and fotos…. https://www.mikrocontroller.net
Michael schrieb im Beitrag #7724561: > und der Programmcode als .txt Wenn Du ihn als *.c oder *.ino angehängt hättest, würde die Forensoftware eine Codeansicht anbieten ...
Harald K. schrieb im Beitrag #7724574: > Wenn Du ihn als *.c oder *.ino angehängt hättest, würde die > Forensoftware eine Codeansicht anbieten ... Eigentlich sollte es genau das tun, hier nochmal:
#include <Arduino.h> /* Standard Arduino library */ #include <LittleFS.h> /* Filesystem */ #include <map> #include <set> /***************************************************************** FALLS EINE LED ANGESCHLOSSSEN IST, BITTE HIER DEN PIN ANGEBEN FALLS EINE LED ANGESCHLOSSSEN IST, BITTE HIER DEN PIN ANGEBEN FALLS EINE LED ANGESCHLOSSSEN IST, BITTE HIER DEN PIN ANGEBEN *****************************************************************/ #define LED_PIN D5 class PublicKeyValuePairs { public: // Constructor initializes default keys and reads custom key-value pairs from file PublicKeyValuePairs()
#include <Servo.h> Servo myServo; // Erstelle ein Servo-Objekt int potPin = A0; // Pin, an dem das Potentiometer angeschlossen ist int servoPin = 9; // PWM-Pin, an dem das Servo angeschlossen ist int inputPin = 7; // Pin, an dem das Eingangssignal angeschlossen ist int outputPin = 8; // Pin, an dem der Zustand des Servos angezeigt wird int potValue; // Variable zum Speichern des Potentiometerwertes int targetAngle; // Variable zum Speichern des Zielwinkels int currentAngle = 0; // Variable zum Speichern des aktuellen Winkels const int totalTravelTime = 2000; // Gesamtzeit für die Bewegung in Millisekunden
verhält sich wie am 27.07.2024, um 4mA Ruhe, mit LED an 20mA. Auch das Beispiel "BlinkWithoutDelay.ino" ändert nichts. Ich habe keine Idee mehr, wohl aber ein Gerät, wo ein 5V-ProMini aus gleicher Quelle seit 7 Jahren ohne Ausfall im Dauerbetrieb läuft. Ich beforsche das jetzt nicht weiter.
N330 und 2 Gb von 2009. Wenn ich mit Arduino an der Hardware teste, bekommt der per Netzwerk die .ino, darf die compilieren, drauf spielen und danach als Terminal die Ausgaben anzeigen. Dauert eben länger als am "Großen", aber wäre im Falle eines Schadens nicht so schmerzhaft. Mein Asus-Eeee 101
/* * Speed measurement with optical encoder * On every rising edge the time delta to the last rising edge is printed to the serial port. * Additionaly LED_BUILTIN output shows the trigger point. * * 2024-06-27 Christoph M. */ // pin change interrupt base code: // https://wolles-elektronikkiste.de/en/interrupts-part-2-pin-change-interrupts const int interruptPin = 6; volatile bool event = false; volatile uint32_t TimeDelta = 0; volatile byte changedPin = 0; const byte interruptPinMask = 0b11111100; volatile byte lastInterruptPinsStatus = 0b01010100; volatile bool risingEdge = false; // PCINT2_vect
#7687967: > Ich hoffe, jemand kann helfen... Tippe auf "Durchsuchen" und wähle das *vollständige* .ino aus (ziehen geht auch).
PCINT-Pin verwendet. Die Auswertung in loop() ist immer eine schlechte Idee! Wenn Du die Endung auf .ino änderst, sollte Arduino das auch Übersetzen können. Selbst habe ich es nicht probiert.
/* this code is an aternative software for Bosch vaccuumcleaner, tested and working on the BCH6L2560 & BBH7360K model. Other Bosch models may work, but YOU must chek first if your hardware is supported ! We take no responsability at all for this code, use it on your own risk. Here you find basic schematics (uncomplete) and fotos…. https://www.mikrocontroller.net/topic/513088 Many thaks to Daniel F.(per48or) for programming with me Lena S.(lena_s) this piece of code to awaken this vaccuumclears again. */ // SET your Board to MiniCore ATmega328PB @ 8Mhz Internal, BOD=2.7V, no Bootloader // https://github.com
/* this code is an aternative software for Bosch vaccuumcleaner, tested and working on the BCH6L2560 & BBH7360K model. Other Bosch models may work, but YOU must chek first if your hardware is supported ! We take no responsability at all for this code, use it on your own risk. Here you find basic schematics (uncomplete) and fotos…. https://www.mikrocontroller.net/topic/513088 Many thaks to Daniel F.(per48or) for programming with me Lena S.(lena_s) this piece of code to awaken this vaccuumclears again. */ // SET your Board to MiniCore ATmega328PB @ 8Mhz Internal, BOD=2.7V, no Bootloader // https://github.com
LM4F120 Launchpad irmp-main-esp8266.c - ESP8266 irmp-main-mbed.cpp - MBED examples/Arduino/Arduino.ino - Teensy 3.x irmp-main-chibios.c - ChibiOS Auch auf PIC-Prozessoren ist IRMP lauffähig. Für den PIC-CCS-Compiler sind entsprechende Preprocessor-Konstanten bereits gesetzt, so dass man irmp.c direkt

 Bild
Bild
 Bild
Bild
 Bild
Bild
 Bild
Bild
 Bild
Bild
 Bild
Bild
 Bild
Bild
 Bild
Bild